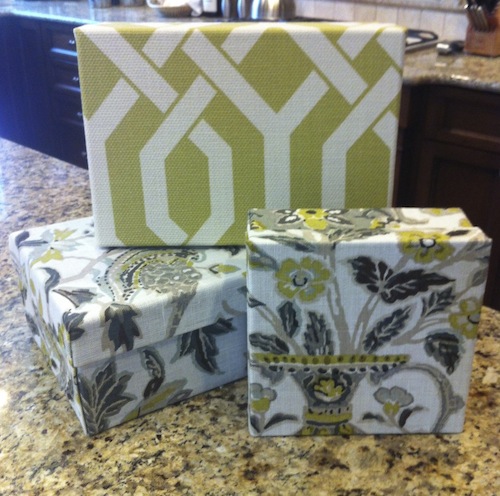
Thanks for all of your nice comments about my DIY fabric covered boxes last week. It was a really easy project and I know your boxes will look great as well. Please feel free to send me photos of your finished boxes. I’d love to feature them here on the blog.
Today, we’re talking footstools. I mentioned last week that I had recovered a footstool to coordinate with the fabric covered boxes and window treatments in my client’s office. The space has wood floors and built ins. That’s a lot of wood in a small space. The new window treatments have made a huge difference in, but adding the boxes and the newly reupholstered footstool will be the perfect final touch.
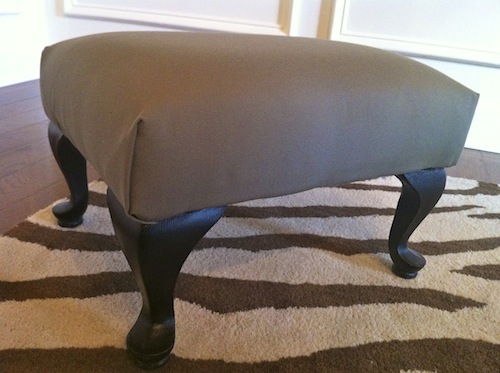
This is the finished piece. Now, here’s the bad blogger disclaimer. I thought I had a before shot of the footstool, but when I started writing this post, I couldn’t find it anywhere. So, just imagine the top was a green velvet and the legs were burgundy.
1) My first step was removing the legs and spray painting them black. Yes, I forgot to take a picture of this as well. Bad blogger, I know.
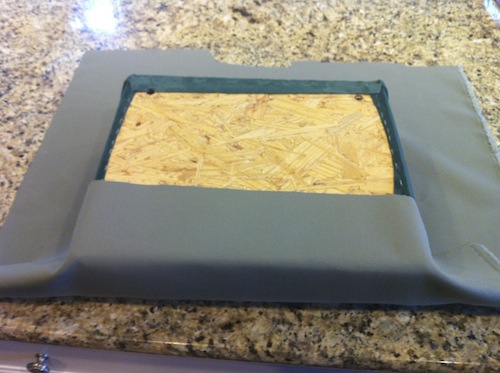
2) While the legs were drying, I started measuring my fabric. A quick tip about your fabric choice. I went with indoor/outdoor fabric for my client. Not the sexiest choice by any means, but definitely the workhorse of fabrics. My client uses this footstool under her desk everyday. She also has two cats who like to use the footstool as well. An indoor/outdoor fabric was the right choice for this project. Don’t forget to think about how your going to use something before you pick your fabric.
Back to measuring, I opted to leave the existing fabric on this footstool and place the new fabric on top.
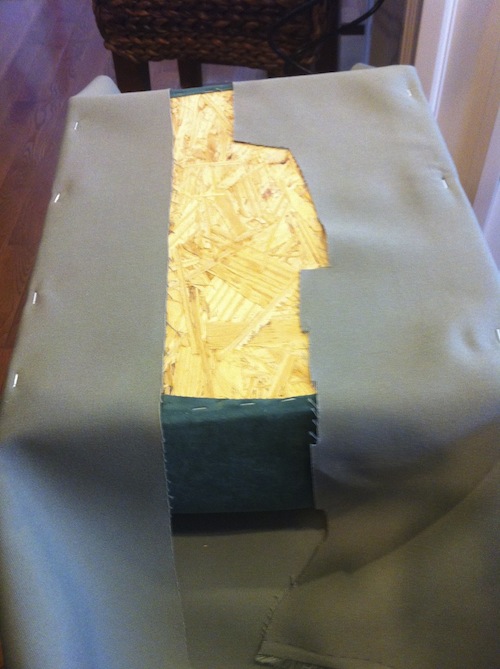 3) Go ahead and staple one side. Once you’ve done that, pull the other side as tight as possible without puckering the fabric and staple the other side.
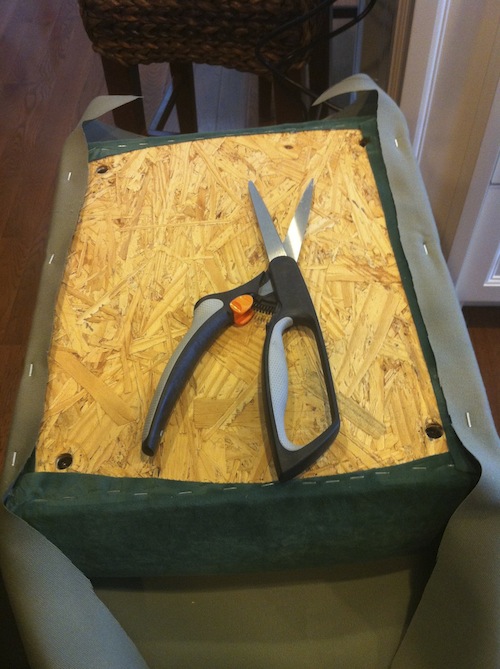 4) Now go ahead and trim the excess fabric from your long sides. Then fold the short sides up, wrapping them like a gift. You may need to trim some of your excess if your fabric is very thick.
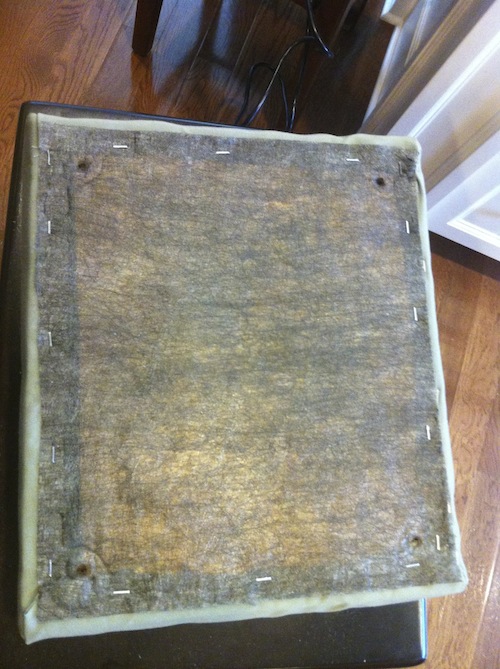
5) To give your work a finished, professional look, use a piece of extra fabric to cover the entire bottom. Staple all around to keep all sides tight.
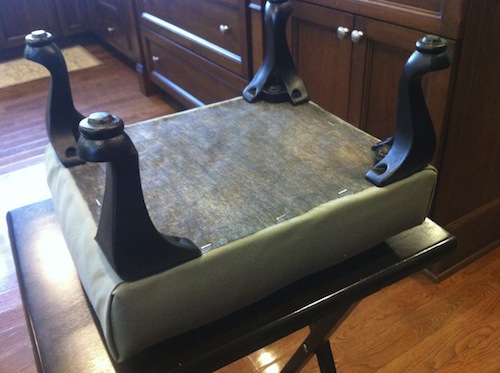
6) Reinstall the legs.

7) Flip it over and you’re done.
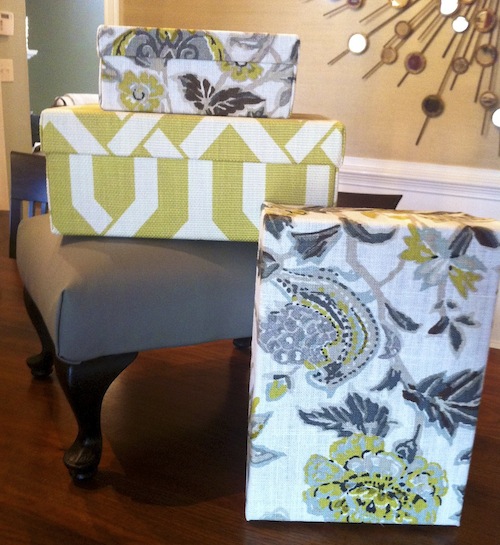
Here’s a look at the footstool with the boxes I made last week. I love how just a small amount of work can add so much personality to a space. What project are you working on? I’d love for you to share your tips and pics!
Have a great day!
I’m linking up here this week:
How to Nest for Less, DIY Home Sweet Home, Mad Skills and Newlyweds o a Budget


What a smart idea, Lori. And the perfect foot stool for under a desk or she could even take it into another room if she wanted to work on a laptop or something. I’ve got a few projects under way that I’m so excited to share with everyone. Hope you had a great weekend!
What a nice versatile custom piece for the money! Great job!
So pretty …what an easy update.
I’ve done this a couple times myself! I love footstools—my hubs laughs at them—thinks they’re too short. But I know the truth!
The boxes are beautiful too. I’ll have to try this!
Looking for a great round upholstered ottoman/coffee table. Can you suggest any sources? Thanks!
Help! My footstool (ottoman) has legs exactly (seemingly!) like yours, but when I tried to remove them, I ran into a problem. The legs have the two top screws each, but they are still attached, somehow. They will roate in the corner as if attached by a dowel, but won’t come off. Any suggestions??????