I know that I’ve mentioned my friend Jen on the blog a few times. She has only been blogging for a few months, but her posts read like someone who’s been blogging for years! I’m so happy to have her here today sharing one of her fabulous tutorials. I hope you enjoy it and be sure to visit Jen over at At Home in the Northwest.
Hi Everyone!
I’m Jen from At Home in the Northwest and I’m honored to be here at Lori May Interiors!! Lori invited me to write about one of my projects. So keep reading for a step by step tutorial on creating a fun piece of personalized wall decor for your home.
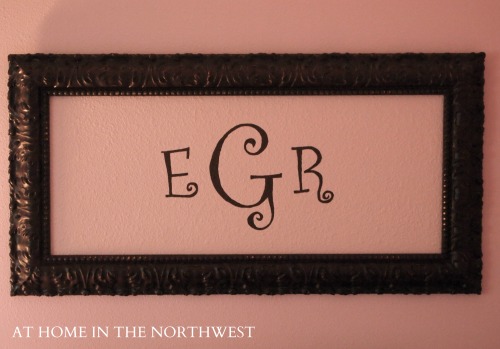
When decorating my daughter’s bedroom, I wanted her monogram on the wall. I like to be able to move furniture and wall decor around, so painting a monogram directly on a wall was a bit too permanent for me. If I got the itch to move her bed, I didn’t want to have to repaint the walls. So I created a piece of wall decor that LOOKS like it’s pained directly on the wall….
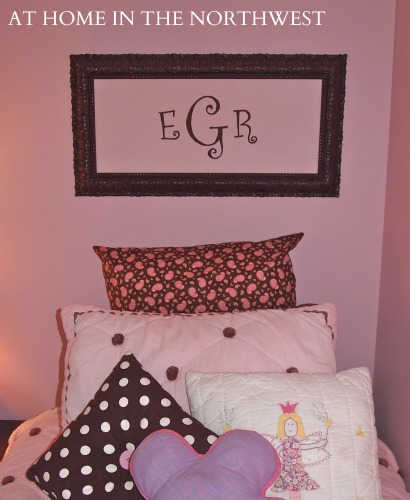 but it’s really a framed piece of art…
Here is a quick tutorial on this optical illusion. You can create a framed monogram that looks like it’s part of your wall in just a few easy steps.
1. Select a frame.
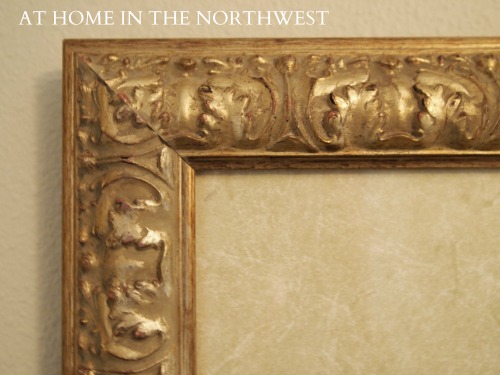
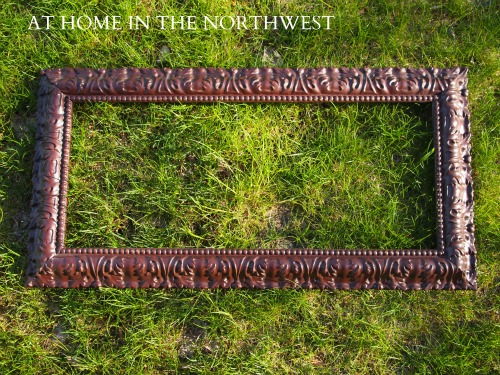
My frame was a champagne color, which wasn’t the color I wanted for her room. I spray painted the frame a chocolate color and used steel wool to lightly distress the frame, letting the gold undertones come through.
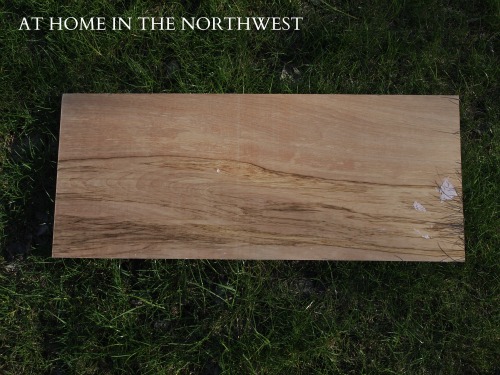
2. Cut plywood to fit in frame.
Measure the opening of your frame from the back. Cut a piece of plywood (or have Lowe’s cut it for you) that fits inside the frame, without the glass. Make sure that both the plywood AND the back of the frame fit in the opening. This may require a thinner piece of plywood than expected.
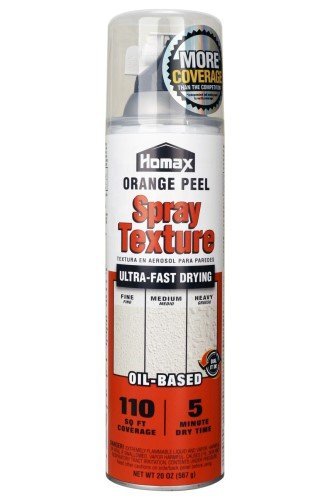
3. Spray the plywood with wall texture.
After reading the label on the can, spray your plywood with the suggested amount of texture. If you mess up, remember there is always the back side of the plywood! But honestly, I don’t think you can mess this step up.
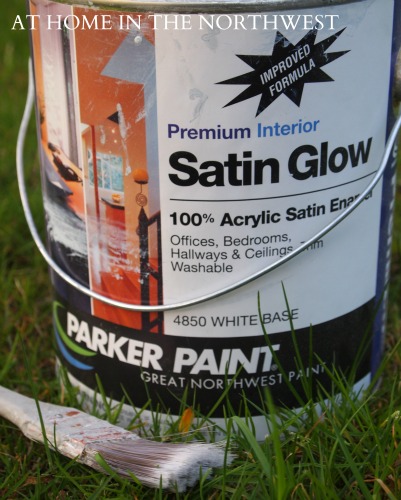
4. Paint plywood.
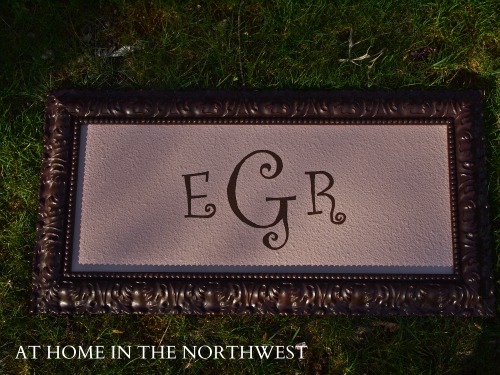
After the wall texture dries, paint your plywood the same color as your wall.
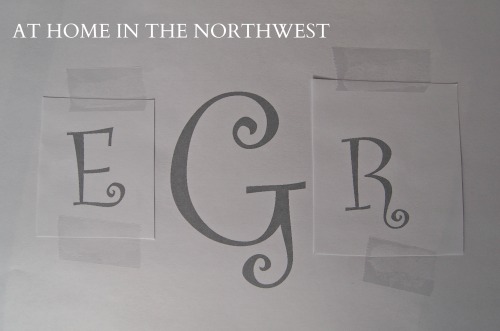
5. Print out letters for monogram.
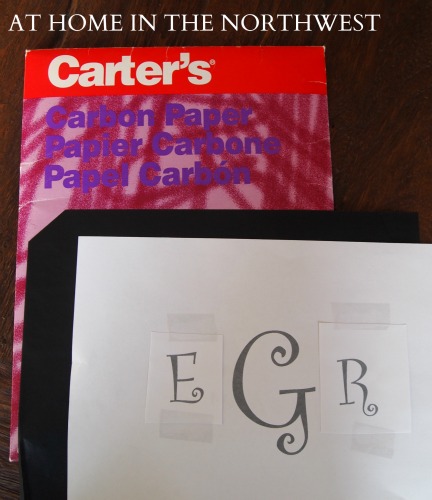
You can use vinyl letters for this step, or you can print them using your computer. I don’t have Photoshop so I did mine the old school way….cut and paste! Using a photo copier, I enlarged the letters to fit onto the wood. Then I cut and taped them together, making sure it was spaced an appropriate amount.
6. Trace letters onto plywood.
Place a piece of carbon paper behind your letters and begin tracing. The carbon paper will leave an outline of the letters on the plywood.
7. Paint letters.
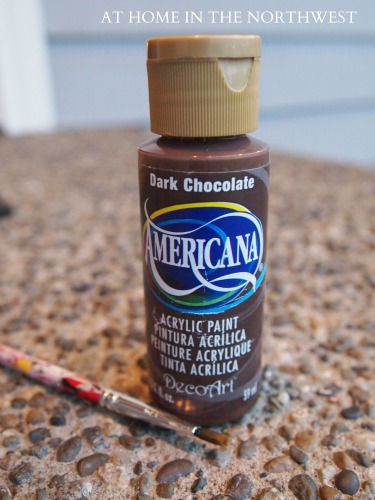
Using an acrylic craft paint in a dark chocolate color, I painted the monogram. This may take about 20 or 30 minutes, depending on how much of a perfectionist you are. You may want to grab a diet coke and turn on some music or the tv while you work.
8. Put plywood back into frame.
Put the plywood in your frame and secure the back of the frame in place. Then hang it up on your wall, sit back and enjoy!!
Thanks again for me inviting me over today, Lori!
Jen


What a fantastic project! I love anything monogrammed.
I’m thinking these would make great gifts for my four granddaughters! Thanks for the tutorial!
girl. seriously AMAZING room and process. You designed SUCH a beautiful space. of course…..The most beautiful part is your girls all snuggled up!
ha! I meant to comment one post down. But this project was super fun too!!!
So cute! And it looks like it’s monogrammed right onto the wall. I like that this could be used in a variety of places too. Hope you had a nice weekend Lori!