Recently, I completed a commercial office project on a tight budget. Several issues needed to be addressed in the space. The desk and chair had to stay, which helped with the budget, but limited me a bit in my color palette. There was very little storage and from the look of the before picture, you can tell that was a serious problem! Also, there was no seating and a large number of photos that needed to be organized and framed. In the end, I needed 2 large bookcases, 2 chairs, a side table, a console table, a small writing desk, window treatments and accessories on a $1500 budget! Here’s how I did it…
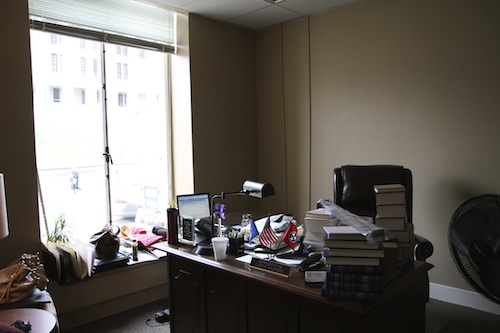
I chose to go with Sherwin Williams latte for the walls. The reason was simple. The building management had three colors that they would paint for free and latte was one of them. I saved on paint and labor, plus it was a really nice neutral color. While I waited for the walls to be painted, I got started with the furniture search.
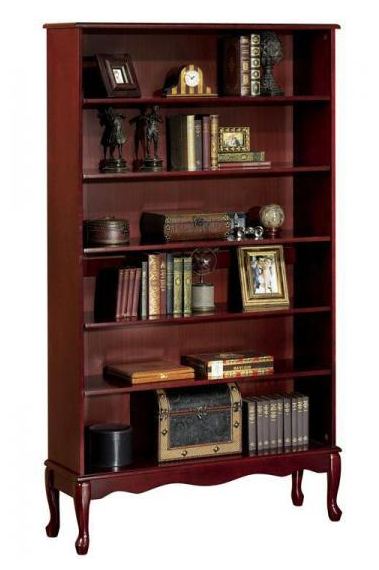
I found this 42″W bookcase at Home Decorator’s Collection for only $159, which way beat the average price of $250 to $300, I was finding elsewhere. And, for those of you who wondered why I didn’t go on a thrift store hunt, I would have loved to, but, unfortunately, there just wasn’t enough time. I purchased all of the major pieces of this project online. So, I was thrilled with getting two 42″ bookcases for just over $300! There was only one problem…
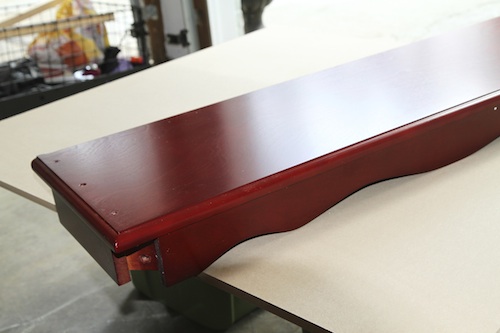
The horrible mahogany (red) finish! In the photo online, I could see that there were red undertones, but who knew it could be so bad. I tried for the first hour or so to convince myself that it would look more like a true red finish and be kind of chic and funky. But in the end, I knew there was no other choice. I had to refinish them.
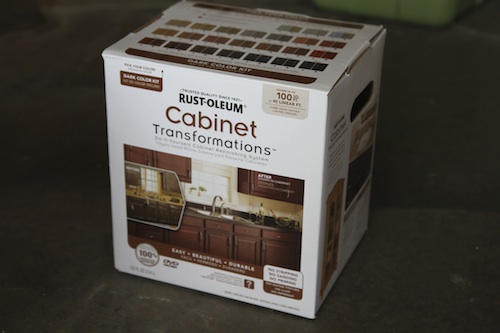
About the same time, I saw a post by Centsational Girl about this product. No stripping, no sanding, no priming? Could it be? Centsational Girl was a believer, so I was on board!
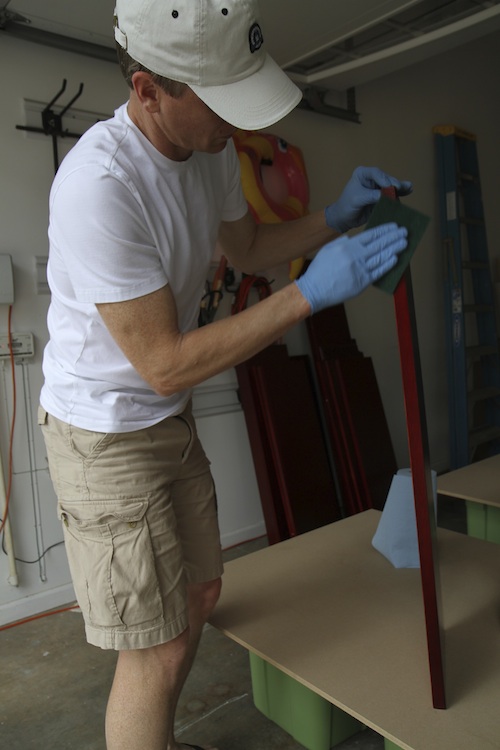
Eric helping me out! Deglazing the shelves…
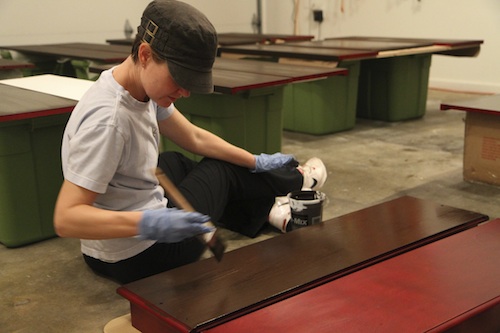
Applying the finish…
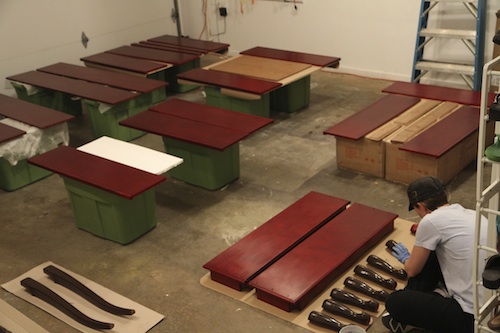
So many pieces, so little time!
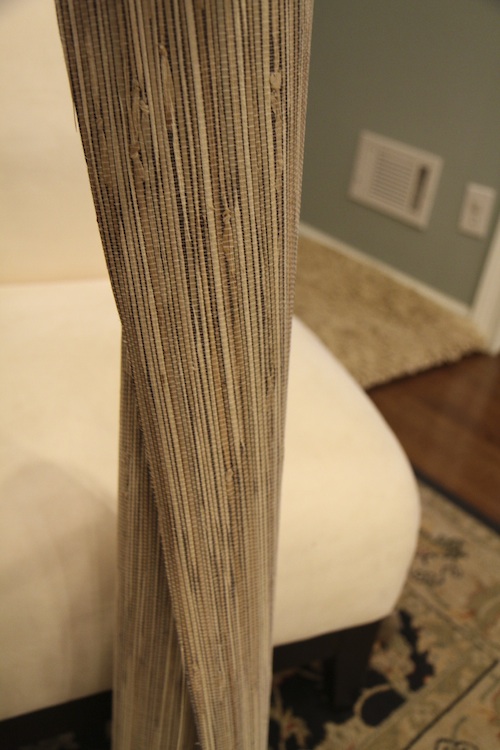
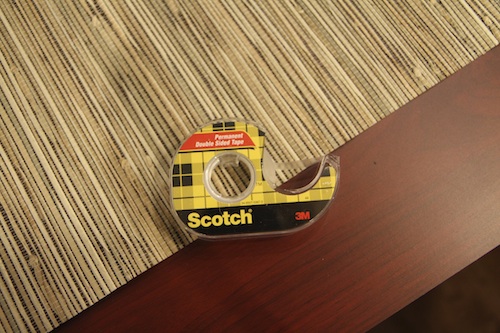
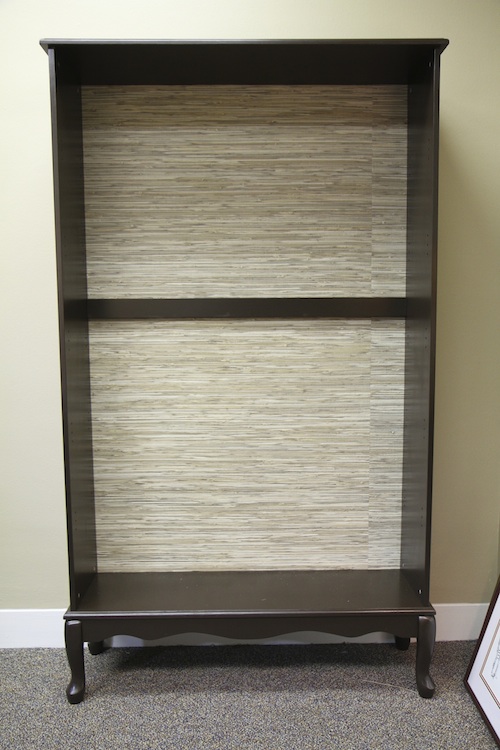
Once I had the refinishing under control, I wanted to add some color and texture to the backs of the bookshelves. I thought about painting them, but settled on grasscloth. It added both color and texture. The roll I found was on sale for $45 for the double roll, granted more expensive than paint, but so worth it in the end. I had never used grasscloth on a piece of furniture before, so when I asked the salesperson at the wallpaper store, she suggested using…
double stick tape! I was so surprised and I have to say a bit skeptical, but it worked and it was so easy!
This is the finished piece without the bookshelves, of course. What do you think? Have you ever used grasscloth on a piece of furniture? Have you used Rustoleum’s cabinet transformations? Love to hear your thoughts!
Tomorrow I’ll show you part 2 of this office project, including the after shots. See you then!





I have never heard of that product! Is it paint or stain? Also…love the grasscloth in the back. It does add so much texture. They really do look like different bookcases. Good job.
It’s a stain. It’s advertised primarily for kitchen remodeling at Home Depot. I was pretty impressed with it. There are tons of color options. The light finishes are especially good looking. I plan on trying them sometime soon. Maybe on my next Scott’s find!
Looks great! I am a huge fan of grass cloth. Lined our built ins with it and love that it is also paintable.
Thanks Rene! I would love to paint on grasscloth sometime. Great idea!
Oh, my, those were red!!! But they look fabulous after worked your magic. 🙂
They were awful! Lots of work, but sooo much better! Thanks!
look how organized your painting process is! i’m with sherry, love the grasscloth.
we too are redoing our office on a budget. woof. i’m already saying, “help me rhonda.”
Thanks Lesley! The grasscloth made a huge difference and I love Rene’s idea about painting it!